
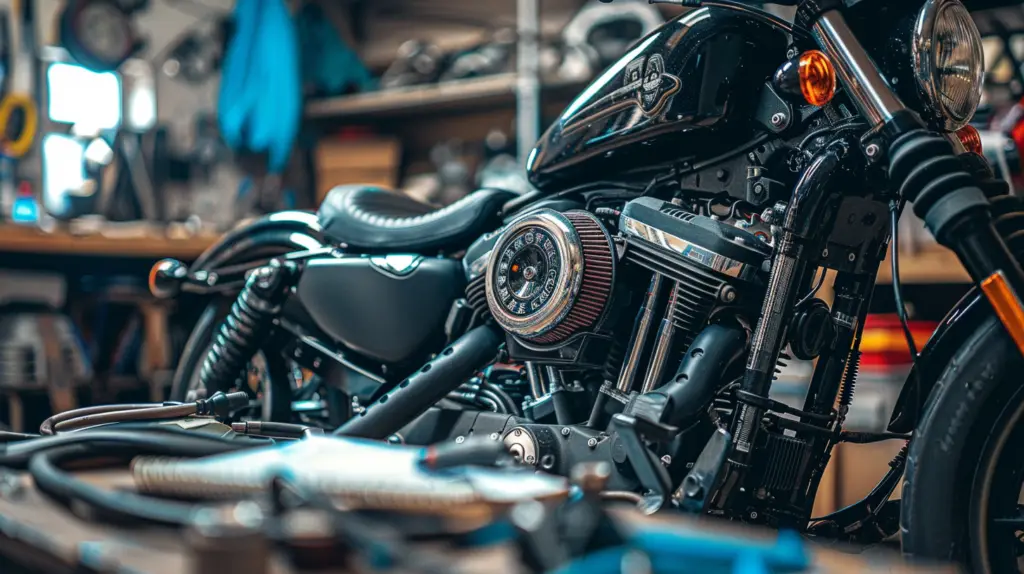
Troubleshooting Harley-Davidson ECM issues begins with recognizing symptoms like poor acceleration, increased fuel consumption, and engine misfires. Use an OBD or OBD II scanner to check for diagnostic trouble codes. Inspect fuses, wiring, and electrical connections for visible damage, making sure they’re secure. Regular preventive maintenance, such as checking voltage levels and following the manufacturer’s guidelines, keeps ECM problems at bay. If issues persist, consider seeking help from certified technicians or exploring online forums for shared experiences. Delve into these tips to make sure your bike runs smoothly and reliably. Keep going to uncover more insights.
Read later: Round ‘Em Up: What Year Harleys To Avoid? (Full Overview)
Key Takeaways
- Regularly use OBD or OBD II scanners to detect and interpret ECM-related error codes.
- Inspect wiring harnesses for corrosion, damage, or loose connections using a multimeter.
- Check for blown fuses and ensure all electrical connections are secure.
- Monitor voltage levels and maintain proper ECM voltage as per manufacturer guidelines.
- Seek professional diagnosis at the first sign of engine misfires or erratic fuel pump behavior.
Understanding The Harley-Davidson ECM

The Engine Control Module (ECM) in your Harley-Davidson is the essential component that manages fuel injection, ignition timing, and other key engine functions. It’s the brain of your bike, guaranteeing everything runs smoothly and efficiently.
By receiving data from various sensors, the ECM processes this information in real-time to adjust performance and maintain the best fuel-to-air ratio. This guarantees your engine operates at its peak, giving you the freedom to ride without a hitch.
Understanding how your ECM works is important for effective troubleshooting. When everything’s functioning correctly, the ECM seamlessly communicates with sensors, regulating engine performance and emissions.
However, when issues arise, knowing what to look for can save you time and frustration. You might notice your bike isn’t accelerating as it should or that it’s burning more fuel than usual. These can be early signs that something’s amiss with your ECM.
Regular diagnostics are your best defense against ECM problems. Using tools like OBD or OBD II scanners helps you pinpoint issues by reading error codes generated by the ECM. With the right knowledge and tools, you’re empowered to tackle any ECM-related issues head-on, keeping your Harley-Davidson running like a dream.
Guide to Identifying ECM Failure Symptoms
When your Harley-Davidson’s ECM starts failing, you’ll notice specific symptoms that flag potential issues. First, engine misfires might become a regular part of your rides, causing a rough and uneven power delivery.
You might also experience erratic fuel pump behavior that disrupts the smooth operation of your bike, making it feel unreliable and unpredictable.
Watch out for codes related to the primary coil or crank sensor. These can show up during diagnostic scans and often point directly to ECM problems. Your engine could suddenly lose power or run on just one cylinder, leaving you feeling shackled by an underperforming machine.
Sometimes, your self-diagnostic system might display a ‘no rsp’ error when attempting to communicate with the ECM. This silent treatment from your bike’s brain is a clear sign that something’s amiss.
If you notice these ECM failure symptoms, don’t ignore them. They’re your bike’s cries for help, indicating the need for immediate attention to avoid a full-blown breakdown.
Recognizing these issues gives you the freedom to address them proactively, keeping your Harley roaring down the open road without a hitch.
Take control, and don’t let a failing ECM put the brakes on your adventures.
Steps to Diagnosing ECM Issues
When diagnosing ECM issues on your Harley-Davidson, start by recognizing the common warning signs like engine misfires and flashing check engine lights.
Use diagnostic tools such as an OBD scanner to read error codes and pinpoint the problem.
This approach will help you accurately identify and address any ECM-related issues.
Common Warning Signs
Among the most telling warning signs of ECM issues in your Harley-Davidson are engine misfires, erratic fuel pump behavior, and specific diagnostic trouble codes related to primary coils or crank sensors.
When your bike’s engine starts to misfire or stutter, it’s a red flag that the ECM might be in trouble. Similarly, if your fuel pump is acting erratically, it could indicate a bad ECM, as it’s failing to regulate the fuel flow properly.
Pay close attention to any diagnostic trouble codes (DTCs) that pop up, particularly those related to primary coils or crank sensors. These codes can be your first hint that ECM replacement might be on the horizon.
Don’t ignore a flashing check engine light, as it often points to deeper electronic issues that need immediate attention.
For those who yearn to ride free without constraints, mastering the Electrical Diagnostics Manual is essential. It empowers you to pinpoint issues and take control of your bike’s performance.
Diagnostic Tools Usage
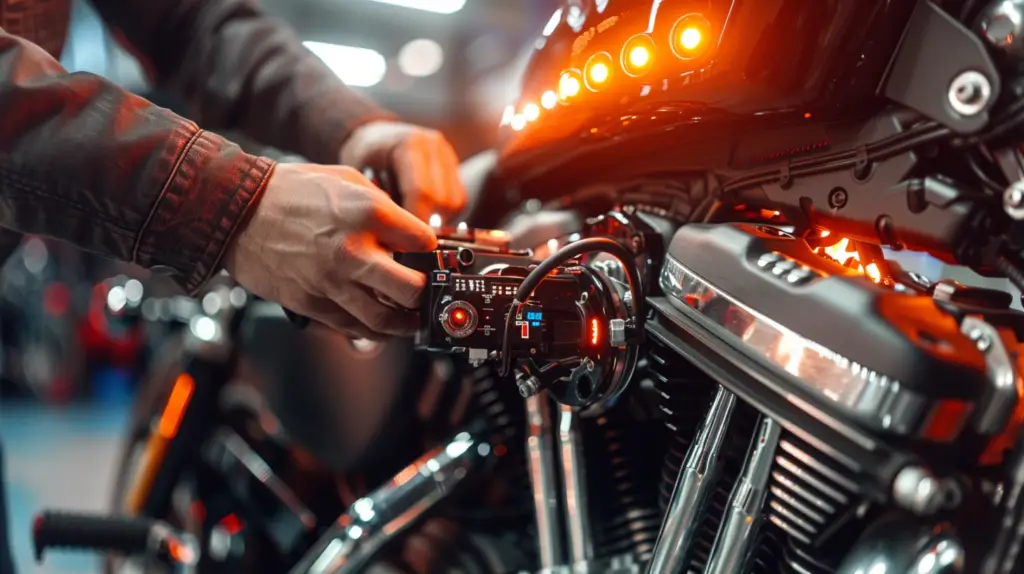
To accurately diagnose ECM issues in your Harley-Davidson, you’ll need to use diagnostic tools like scanners and DVOM. These tools are essential for liberating yourself from the guesswork and ensuring your bike’s brain is functioning at its best. By using scanners, you can read error codes directly from the ECM, pinpointing exactly what’s wrong without unnecessary disassembly.
Scanners are essential, plugging into your bike’s diagnostic port to provide real-time data. They let you see if there’s a misfire, a sensor malfunction, or any other ECM-related issue. This is crucial for effective troubleshooting, as it helps you identify and fix the problem swiftly, keeping your ride smooth and reliable.
A DVOM (Digital Volt-Ohm Meter) complements the scanner by measuring electrical signals. It’s invaluable for checking sensor outputs and ensuring the wiring is intact. Skilled interpretation of this data is key, meaning you’ve got to know your bike and trust your tools.
Using the latest diagnostic tools not only streamlines the diagnosis process but also leads to timely repairs. Embrace these tools, and you’ll find yourself back on the open road, riding free and unburdened by ECM issues.
Diving Deeper Into Using Diagnostic Tools
When facing ECM issues, you’ll need to pick the right diagnostic tool to get accurate readings.
Once you’ve chosen your tool, pay close attention to the error codes it displays.
Interpreting these codes correctly is essential for pinpointing and fixing the problem efficiently.
Choosing the Right Tool
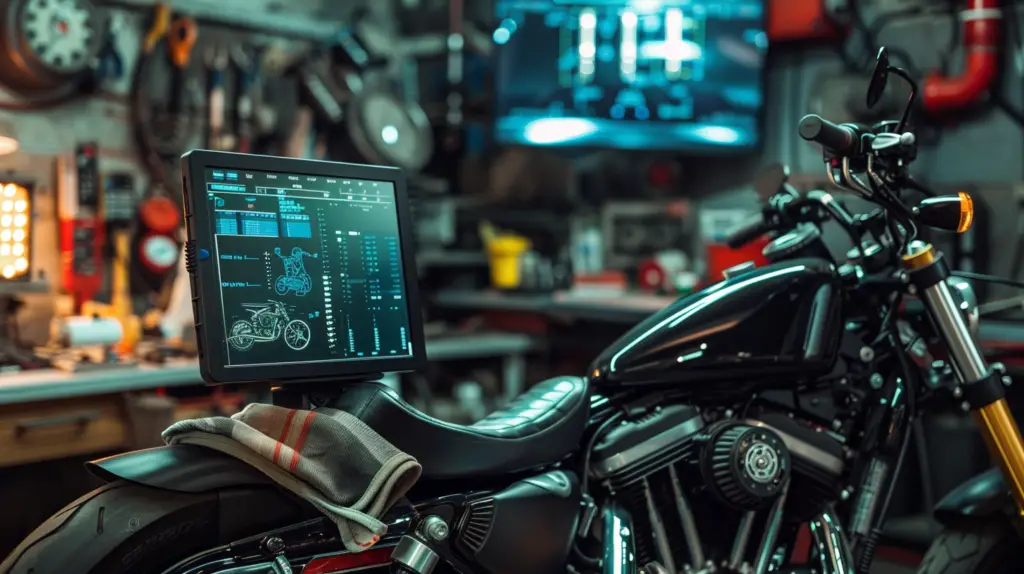
Choosing the appropriate diagnostic tools is essential for accurately pinpointing and addressing ECM issues in your Harley-Davidson motorcycle. ECM troubleshooting begins with the right diagnostic tools, such as scanners and DVOM (Digital Volt Ohm Meters). These tools allow you to measure voltages, resistances, and continuity within the ECM system, ensuring you get precise readings and data essential for effective troubleshooting.
| Tool | Function | Importance |
|---|---|---|
| OBD Scanner | Reads ECM error codes | Identifies specific issues quickly |
| OBD II Scanner | Advanced scanning for newer models | Provides detailed diagnostics |
| DVOM | Measures voltage, resistance, continuity | Guarantees accurate electrical measurements |
| Manual | Reference for interpreting tool readings | Helps understand diagnostic data |
| Software | Analyzes ECM data from scanners | Facilitates deeper insights |
For freedom-loving riders, mastering these tools empowers you to keep your bike running smoothly without relying solely on technicians. Scanners, both OBD and OBD II, are invaluable for reading error codes, while a DVOM is vital for detailed electrical checks. Having the right manual and software further amplifies your ability to diagnose and fix ECM issues. By using these diagnostic tools effectively, you can liberate yourself from potential breakdowns and keep your Harley roaring down the open road.
Interpreting Error Codes
After selecting the right diagnostic tools, it’s time to interpret the error codes to pinpoint the exact issues affecting your Harley-Davidson’s ECM. Start by connecting your OBD or OBD II tool to your bike’s diagnostic port. Once connected, access the ECM’s self-diagnostic mode. This will allow you to retrieve Diagnostic Trouble Codes (DTCs), which are essential for understanding what’s going on under the hood.
Interpreting these error codes isn’t just an important task; it’s your pathway to freedom from performance issues. Each code corresponds to a specific problem, whether it’s a sensor malfunction, a fuel mixture imbalance, or an ignition issue. Armed with this information, you can troubleshoot effectively, addressing the root causes of your ECM problems.
Use tools like a multimeter or digital volt-ohm meter (DVOM) to explore deeper into specific issues highlighted by the DTCs.
Fixing Common Harley Davidson ECM Problems
To fix common ECM problems in your Harley-Davidson, start by checking for blown fuses and inspecting the wiring for any visible damage. ECM problems can manifest through various symptoms like engine misfires, erratic fuel pump behavior, or error codes related to primary coils and crank sensors.
Begin your troubleshooting by ensuring all electrical connections are secure and free from corrosion.
Don’t overlook the importance of using an OBD or OBD II tool to scan for error codes. This step is essential for identifying specific issues and will save you time in pinpointing the root cause.
Community responses often emphasize the importance of checking ignition and kill switches, which can sometimes be the culprits behind ECM issues.
If your ECM is unresponsive despite having the correct voltage and grounding, consider simpler alternatives before concluding ECM failure. Inspect the wiring harness for any signs of wear or damage. Replace any faulty wiring or connectors you find.
Sometimes, the problem could be as simple as a damaged wire causing intermittent issues.
Preventive Maintenance Tips
Regularly checking your Harley-Davidson’s electrical connections and voltage levels can greatly reduce the risk of ECM failures. You don’t want to be stranded on the open road because of something important, right? By integrating preventive maintenance into your routine, you’re giving yourself the freedom to ride without worry.
First off, maintaining proper voltage levels in the ECM is essential. Make sure to check your battery and charging system regularly to avoid any voltage issues that could jeopardize your ride. Conducting routine diagnostic checks can help identify signals that might be shorted to ground or power, preventing issues before they escalate.
Following the manufacturer’s guidelines for maintenance and tuning can also make a big difference. These guidelines are designed to extend the lifespan of your ECM, keeping your Harley running smoothly.
When in doubt, don’t hesitate to seek professional diagnosis at the first sign of trouble. A timely repair of a bad electrical connection can save you from costly ECM malfunctions down the road.
Inspecting Electrical Connections
Keeping your Harley-Davidson in top shape means you should inspect all electrical connections for any signs of corrosion, damage, or loose fittings. Start by examining the wiring harnesses closely. Look for any signs of wear, fraying, or exposed wires that might lead to electrical issues. Don’t let these minor issues turn into major problems that could hinder your ride’s performance.
Using a multimeter, test the continuity and resistance of your connections. This tool will help you pinpoint any weak or faulty links that can disrupt the ECM’s communication with the engine. Ensuring all connectors are securely plugged in is essential. Check that none of the pins are bent or pushed out of place, as this could lead to a breakdown in the electrical system.
Also, be vigilant about water intrusion or moisture damage. These can be sneaky culprits causing malfunctions. Inspect for any signs of moisture around your electrical components. A little bit of proactive inspection can save you from a lot of headaches down the road.
Conclusion
By understanding and diagnosing ECM issues, you’re not just maintaining a machine—you’re ensuring your freedom to ride without worry. Don’t let a faulty ECM steal your joy; tackle problems head-on with the right tools and knowledge.
Remember, every ride should be an adventure, not a gamble. So, keep your Harley-Davidson in peak condition and hit the road with confidence. After all, every mile is a story waiting to be written.

Leave a Reply
You must be logged in to post a comment.