
Imagine the open road, the wind in your face, and the powerful hum of your motorcycle beneath you. It’s a feeling of freedom, of adventure. But while you’re cruising down highways and navigating city streets, your motorcycle is silently waging a battle. A battle against dirt, grime, UV rays, and the relentless march of time. Every ride, every exposure to the elements, takes a toll. From the subtle fade of its once-vibrant paint to the insidious creep of rust in hidden corners, neglect can transform a roaring beast into a whimpering relic. But fear not!
In this guide, we’ll uncover the threats your motorcycle faces and arm you with the knowledge to keep your ride looking and performing like it just rolled off the showroom floor. Dive in as we explore the art and science of motorcycle detailing, from the essentials of preparation to the magic of a perfect polish.
The Consequences of Neglect: When Motorcycles Meet the Elements
Every motorcycle enthusiast knows the thrill of riding a well-maintained machine. However, the elements can be unforgiving, and neglect can lead to a host of problems.
Surface Degradation and Wear:
The Impact of Dirt and Grime
Just like how a small pebble can cause a ripple in a pond, accumulated dirt can lead to scratches, dullness, and faded paint. Over time, this not only affects the motorcycle’s appearance but also its resale value.
Sun’s Wrath
Constant exposure to UV rays can cause motorcycle paint, leather, and vinyl parts to fade and become brittle. This degradation isn’t just cosmetic; it can lead to cracks and breaks in essential components.
The Toll of Road Salts
Especially in areas with snowy winters, road salts can eat away at protective coatings, leading to premature wear and potential structural issues.
Electrical Issues Over Time
Moisture’s Menace
Rain rides might be thrilling, but water exposure can lead to short circuits, malfunctioning lights, and a compromised battery life. Always ensure your motorcycle is dry post-ride to prevent these issues.
Corrosion Concerns
The slow creep of corrosion on electrical connectors can impact the motorcycle’s performance, leading to erratic behavior and potential safety hazards.
Rust: The Silent Predator:
Where It Strikes
Common areas prone to rusting include exhaust systems, frames, and bolts. Rust not only mars the appearance but can also weaken the motorcycle’s structural integrity.
The Domino Effect
As rust spreads, it can lead to more significant mechanical issues, compromising safety and performance.
Other Physical Ailments from Exposure:
Rubber’s Rivals
Extreme temperatures and prolonged exposure to the elements can cause tires and seals to crack and degrade, leading to potential blowouts or leaks.
Leather’s Lament
Leather seats and accessories can become stiff and cracked when exposed to moisture and sun, reducing comfort and aesthetic appeal.
Why Detailing Matters: Protecting Your Investment
Understanding these threats underscores the importance of regular maintenance and detailing. It’s not just about aesthetics; it’s about preserving the longevity and performance of your motorcycle. Let’s delve into the comprehensive guide on how to detail a motorcycle and shield it from potential hazards.
How To Detail A Motorcycle: A Step-By-Step Guide
In this section, I show exactly how I detail my own motorcycles. So what’re you waiting for? Let’s get to it!
1. Preparation: Setting the Stage for a Perfect Detail
Why Preparation Matters
Just as a painter needs a clean canvas, a successful detailing session starts with preparation.
Essential Supplies Checklist
Before diving in, gather brushes, microfiber cloths, cleaning solutions, wax, and polish. Having everything at hand streamlines the process.
Choosing the Right Environment
Working in a shaded, cool area prevents products from drying too quickly and ensures better results.
2. The Initial Wash: More Than Just Soap and Water
The Importance of a Gentle Touch
A gentle approach prevents scratches and swirl marks, preserving the motorcycle’s finish.
Choosing the Right Shampoo
Opt for motorcycle-specific shampoos or mild detergents that cleanse without stripping essential protective coatings.
Rinse, Scrub, Repeat
Start by rinsing the motorcycle to remove loose dirt. Gently scrub with your chosen shampoo, then rinse thoroughly. Finish by drying with a microfiber towel for a streak-free shine.
3. Degreasing: Tackling the Tough Spots
Identifying Problem Areas
Focus on areas with stubborn grime, such as the chain, sprockets, and engine parts.
The Power of a Good Degreaser
A quality degreaser breaks down tough grime, making it easier to scrub away. Apply, let it sit for a few minutes, then scrub and rinse.
4. Wheel and Tire Cleaning: Where the Rubber Meets the Road
Understanding Brake Dust
This stubborn grime can be challenging to remove. Use a dedicated wheel cleaner to break it down.
Wheel Cleaning Solutions
Opt for products that not only clean but also offer protection against future grime.
Tire Maintenance
Clean tires aren’t just about looks. Regular cleaning can also help you spot wear or damage early on.
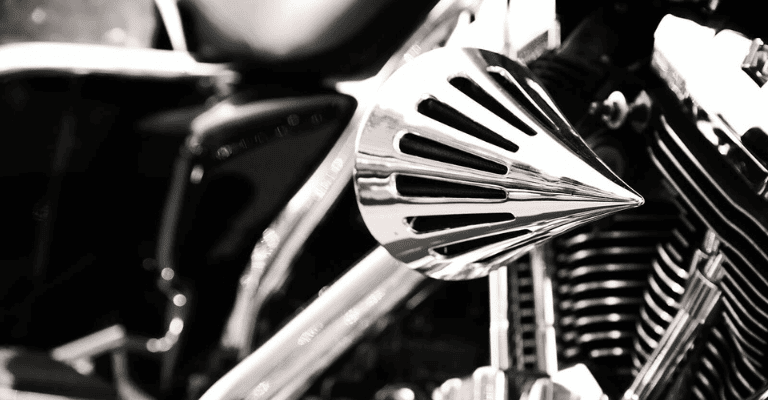
5. Chrome and Metal Polishing: Achieving a Mirror Finish
The Allure of Chrome
A polished chrome part can be the jewel of a motorcycle, reflecting light and drawing attention.
Selecting the Right Polish
Choose a product designed for the specific metal you’re polishing. Apply in a circular motion and buff to a high shine.
6. Paintwork: Protecting Your Motorcycle’s Aesthetic Appeal
Spotting Imperfections
Before applying any product, inspect the paint for scratches or swirl marks.
The Magic of Clay Bars
These tools lift contaminants from the paint, leaving a smooth surface.
Wax On, Wax Off
A quality wax or sealant protects the paint from the elements and gives it a glossy finish. Apply in thin layers and buff out for the best results.
Concluding Thoughts
As the sun sets and the horizon beckons, your motorcycle stands gleaming, a testament to the care and dedication you’ve poured into it. But remember, motorcycle detailing isn’t just about the shine; it’s about preserving memories, adventures, and the promise of many rides to come. Every swirl removed, every chrome polished, and every tire cleaned is a step towards ensuring your motorcycle remains not just a machine, but a companion.
So, the next time you hit the open road, feel the difference. The roar is louder, the ride smoother, and the journey sweeter. Because a well-maintained motorcycle doesn’t just look good—it feels good. Here’s to countless more adventures, with your motorcycle riding proudly by your side.