
So, you’ve got yourself a fuel-injected Harley and you’re wondering how to properly drain the gas from it? Well, you’ve come to the right place! In this article, we will guide you through the step-by-step process of safely draining gas from your fuel-injected Harley. Whether you’re preparing your bike for storage or simply need to remove old fuel, we’ve got you covered. Get ready to say goodbye to that old gas and ensure your Harley is running smoothly.
Related read: Harley Davidson Fuel Pump Problems: Tips, Tricks & More
Draining Gas from a Fuel-Injected Harley
Having the knowledge and skills to properly drain gas from a fuel-injected Harley is essential for any motorcycle owner. Whether you are performing maintenance or storing your bike for an extended period, being able to safely remove the fuel is crucial. In this comprehensive guide, we will walk you through the step-by-step process of draining gas from your fuel-injected Harley. By following these instructions, you can ensure a smooth and hassle-free experience.
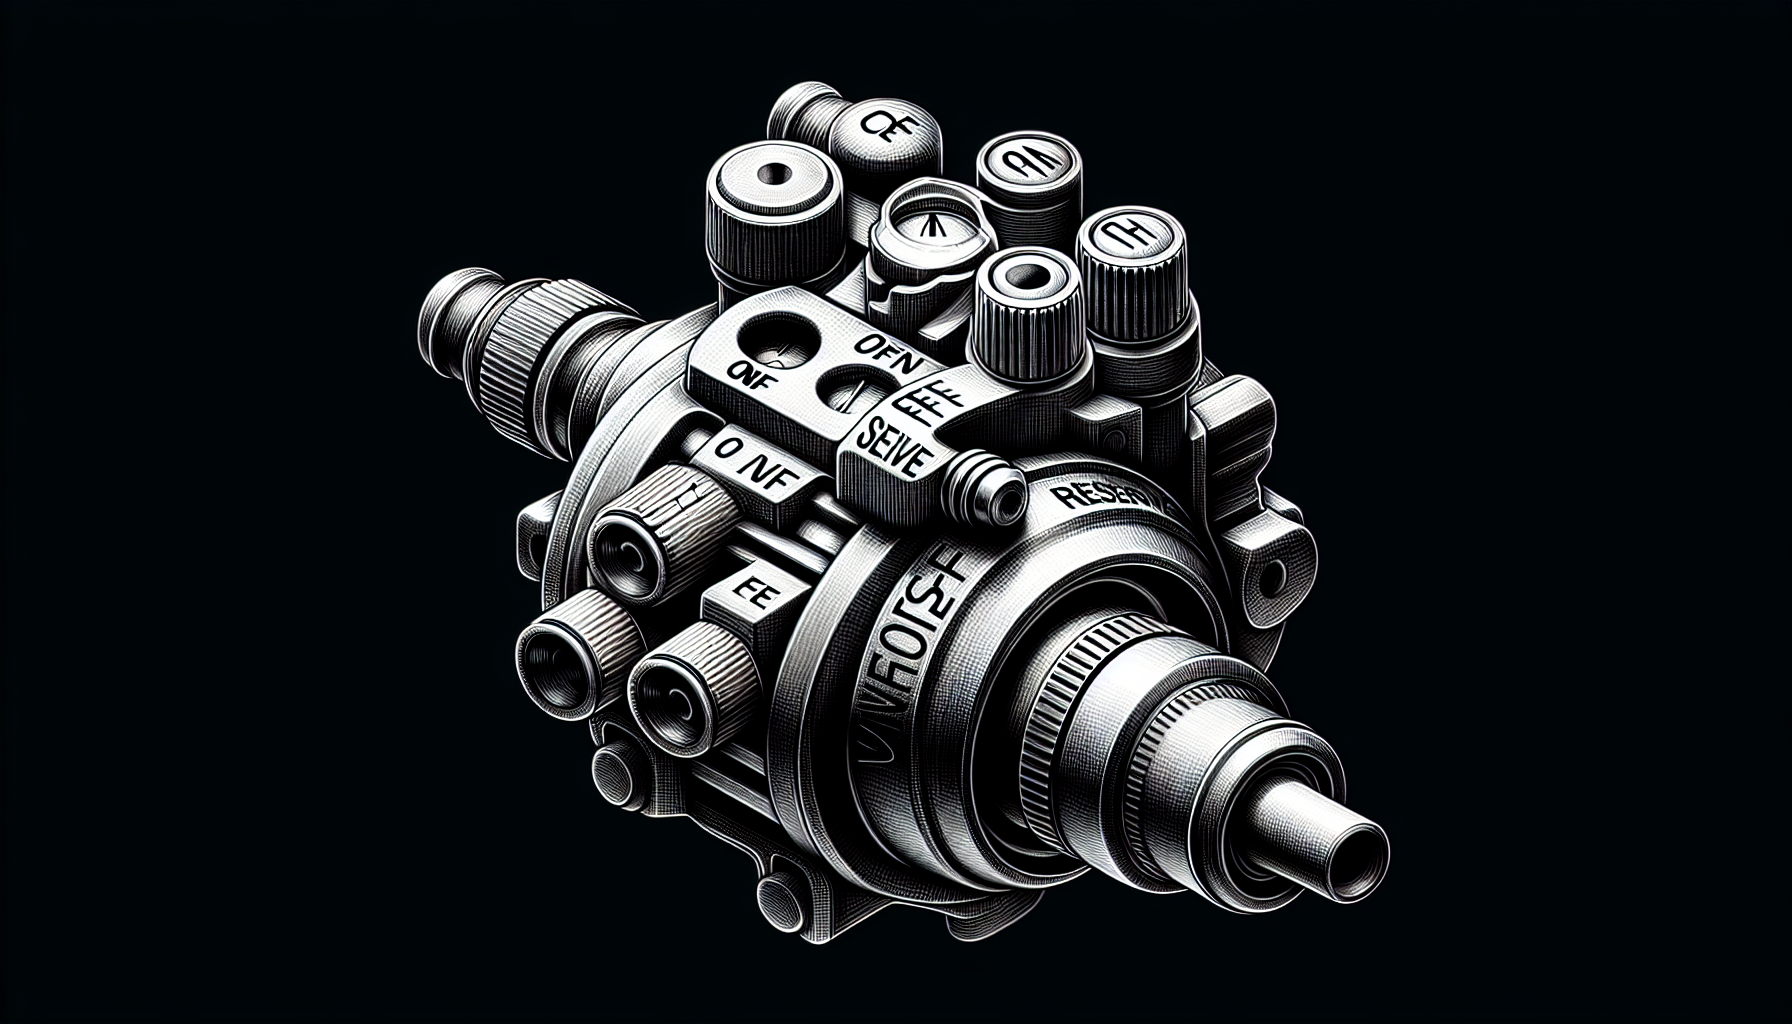
Locating the Fuel Petcock
Before we begin the process of draining the gas, it is important to locate the fuel petcock on your Harley. Depending on the model, the fuel petcock can typically be found on the left-hand side of the motorcycle, below the gas tank. It is a small valve with three positions: On, Off, and Reserve. Familiarize yourself with the location and function of the fuel petcock to proceed with confidence.
Preparing the Motorcycle
To ensure a safe and efficient gas-draining process, it is important to prepare your motorcycle beforehand. Start by turning off the ignition and removing the key from the bike. Also, make sure your motorcycle is parked on a level surface and in a well-ventilated area. This will prevent any potential accidents due to the flammable nature of gasoline.
Gathering Necessary Tools and Materials
Before diving into the process, gather all the necessary tools and materials to make the job easier. You will need a set of proper wrenches or sockets, a container to collect the drained gas, a pair of safety goggles to protect your eyes, and a pair of gloves to keep your hands clean and safe. Having these items ready beforehand will save you time and ensure a smooth experience.
Switching off the Ignition
Before you proceed any further, it is crucial to switch off the ignition on your Harley. This will prevent any accidental starts while you are working on the fuel system. Turning off the ignition will also shut down the fuel pump, which is necessary to drain the gas effectively.
Removing the Fuel Tank Cap
To begin the gas-draining process, you need to remove the fuel tank cap. This will help release any pressure built up in the tank and allow for a smoother flow of gas. Remember to exercise caution while removing the cap, as the pressure release can cause a small amount of gas to splash out.
Removing the Fuel Injection Fuse
Next, locate the fuel injection fuse in your motorcycle’s fuse box. Consult your owner’s manual or the specific model’s documentation to identify the correct fuse. Once located, carefully remove the fuse to disable the fuel injection system temporarily. This step is crucial to ensure the fuel flow is interrupted during the gas-draining process.
Starting the Engine to Release Pressure
Although it may sound counterintuitive, starting your Harley’s engine for a brief moment will help release any remaining pressure in the fuel system. This step is essential to prevent the fuel from spraying out forcefully when you disconnect the fuel line. However, be sure to limit the engine run time to just a few seconds to avoid overheating or any other potential issues.
Disconnecting the Fuel Line
The next step in draining gas from a fuel-injected Harley is disconnecting the fuel line. Locate the fuel line connection point, which is typically near the fuel petcock on the left-hand side of the motorcycle. Use a wrench or socket to loosen the connection and gently pull the fuel line away from the bike. Take care not to damage the line or any surrounding components during this process.
Connecting a Fuel Line to a Container
To collect the draining gas safely, connect a fuel line from the motorcycle to a suitable container. The container should be able to withstand the flammable nature of gasoline and have a capacity large enough to hold the amount being drained. Ensure a tight and secure connection between the fuel line and the container to prevent any spills or leaks.
Opening the Fuel Petcock to Drain Gas
With the fuel line securely connected to the container, it’s time to open the fuel petcock and drain the gas. Turn the fuel petcock to the “On” or “Reserve” position, depending on your motorcycle’s setup. This will allow the gas to flow freely from the tank to the container. Monitor the process closely and make sure the gas is draining steadily and without any obstructions.
Closing the Fuel Petcock and Reconnecting the Fuel Line
Once all the gas has been drained from the tank, it is important to close the fuel petcock and reconnect the fuel line. This will prevent any leaks or spills when you refill the tank with fresh gas. Ensure that the fuel petcock is securely closed and use the wrench or socket to tighten the connection of the fuel line to the motorcycle. Double-check for any signs of leakage before proceeding.
Refilling with Fresh Gas
After successfully draining the old gas, it’s time to refill your Harley’s tank with fresh fuel. Ensure you are using the correct type of gasoline recommended by the manufacturer. Open the fuel tank cap and carefully pour in the fresh gas, taking care not to spill or overfill. Once the tank is adequately filled, securely fasten the fuel tank cap and wipe away any spilled gas.
Inspecting for Leaks and Testing the Motorcycle
After completing all the necessary steps to drain and refill the gas, it is important to inspect for any signs of leaks or abnormalities. Check the fuel line connection, fuel petcock, and fuel tank for any potential leakage. Additionally, take a moment to test your motorcycle and ensure it is running smoothly before hitting the road. This final step will give you peace of mind and ensure your Harley is ready for your next adventure.
In conclusion, knowing how to properly drain gas from a fuel-injected Harley is a valuable skill for any motorcycle owner. By following this comprehensive guide, you can safely and effectively remove old gas from your motorcycle’s fuel system. Remember to take all necessary precautions, gather the required tools and materials, and proceed with caution and confidence. With these steps, you can keep your Harley in peak condition and ready for your next ride.