
When it comes to motorcycle safety, the brake light switch on your Harley Davidson plays a crucial role. This component is responsible for activating the brake lights when you apply the brakes, providing a vital signal to other motorists that you’re slowing down or stopping. Unfortunately, brake light switch problems can occasionally crop up, potentially compromising safety. Recognizing and addressing these issues promptly is important to ensure that every ride is as secure as possible.
If you’re experiencing irregularities with your brake light, such as it staying on constantly or not activating at all, it might be indicative of a problem with the brake light switch. Malfunctions can result from regular wear and tear or from external damage to the switch or its related components. Being able to diagnose and address these problems effectively can save you time and prevent further complications with your motorcycle’s brake light system. So, how can you do that, and what should you know? Let’s talk about it!
Key Takeaways
- The brake light switch is fundamental for rider safety on any Harley Davidson.
- Symptoms of a malfunctioning brake light switch include brake lights that remain on or fail to turn on.
- Proper diagnosis and timely maintenance can prevent future issues with the brake light system.
Understanding Brake Light Switches on Harley Davidson
When riding your Harley Davidson, the brake light switch is a crucial safety feature that signals to others when you are slowing down or stopping. Let’s explore how they operate, the different types, and what models are commonly affected.
Role of the Brake Light Switch
Your Harley’s brake light switch is essential for safe riding. It activates your rear brake light when you engage either the front or the rear brakes, alerting drivers behind you. There are two main switches: front brake switch and rear brake switch. The front switch is usually located near the hand lever, while the rear switch is typically near the foot pedal.
Types of Brake Light Switches
Harley Davidson motorcycles employ two types of brake light switches:
- Mechanical Switches: these are physically engaged by the movement of the brake pedal or lever.
- Electrical Switches: these activate via electrical signals when the brake system is engaged.
Each type is designed to reliably inform tailing motorists of your actions.
Common Models Affected
Brake light switch faults can arise in various Harley models. While specific model years can be prone to such issues, widespread concerns have been noted in some families of bikes like the Touring and Softail series. Regularly inspect both your front and rear switches to ensure your ride remains safe and compliant with traffic laws.
Symptoms of Faulty Brake Light Switches
In your Harley Davidson, if you’re facing issues with the brake lights, it’s possible the brake light switch may be at fault. Identifying symptoms of a faulty switch is the first step to ensuring your ride is both safe and compliant with road regulations.
Brake Light Not Working
If you press the brake lever or pedal and notice your brake light doesn’t illuminate, you’re likely dealing with a malfunction of the brake light switch. It’s important to check this promptly as it’s crucial for signaling to others on the road that you are slowing down or stopping.
Flickering Brake Light
A flickering brake light is often a sign of an intermittent fault in the brake light switch. This flickering may occur randomly or when the brake is depressed. It suggests that the switch isn’t consistently engaging or there may be a loose connection.
Brake Light Stays On
Lastly, if your brake light stays on even when you’re not applying the brakes, it suggests your brake light switch might be stuck. This constant illumination can confuse other drivers and might also lead to a drained motorcycle battery.
Diagnosing Brake Light Switch Issues
When your Harley Davidson’s brake lights aren’t functioning correctly, it’s crucial to diagnose the issues promptly to ensure your safety. Here is how you can pinpoint and fix problems related to the brake light switch.
Troubleshooting Techniques
Start with a visual inspection. Check for any misaligned components or visible debris that may be causing the brake light switch to fail. Cleaning the contacts carefully can sometimes resolve the issue.
- Inspect the wires leading to the brake light switch for any signs of damage, such as fraying or disconnection.
- Ensure the switch is properly aligned; a misaligned brake switch can prevent the brake lights from activating.
- Look for any dirt or grime on the switch contacts. A build-up can impede electrical flow, so a thorough cleaning may be necessary.
Tools and Materials Needed
To troubleshoot your brake light switch, you’ll require a few tools and materials. Here’s what you should have on hand:
- Screwdriver: For opening any panels or tightening connections.
- Contact cleaner: To remove debris from the switch contacts.
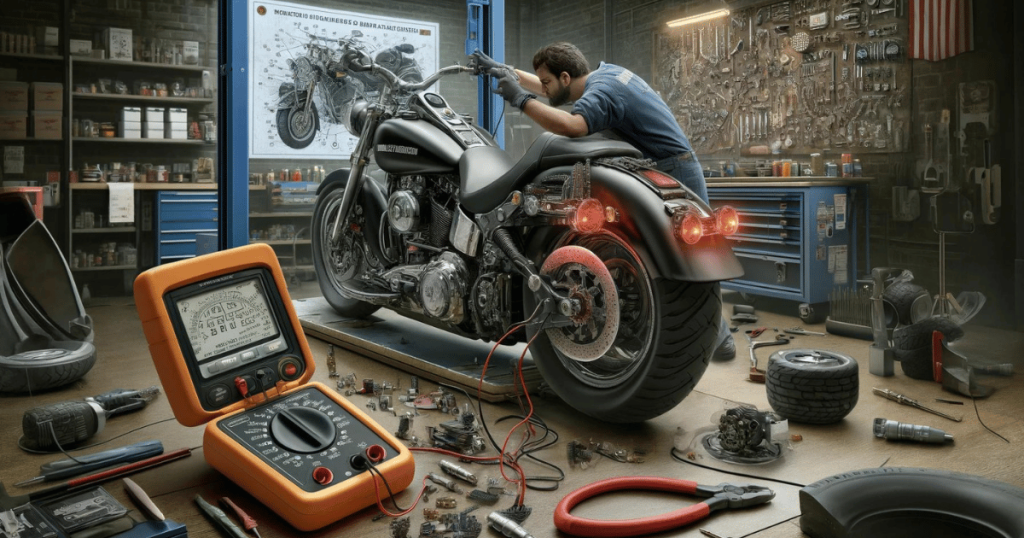
- Multimeter: Useful for checking the electrical continuity of the switch.
Ensure you have these items available before starting your diagnostics, as they are essential for a comprehensive check.
content continues below
Quick Navigation for Related Problems
content resumes
Servicing the Brake Light Switch
Performing service on your Harley Davidson’s brake light switch can be straightforward when you know the proper steps. Ensure your bike stays in top-notch condition and safe to ride by following these guidelines carefully.
Safety Precautions
Before you start servicing your brake light switch, safety should be your top priority. Ensure that your bike is on stable ground and that the ignition is turned off. For added precaution, disconnect your battery to mitigate the risk of electrical shorts. Be wary of the heat shield when working around exhaust areas to avoid burns.
Step-by-Step Repair Guide
To service your brake light switch effectively, follow these steps:
- Locate the Brake Light Switch: The switch is typically situated near the brake lever for the front brake and near or on the master cylinder for the rear brake.
- Check Wiring and Connections: Look for loose or damaged wiring that could be causing issues with the circuit. Ensure all connectors are secure and free from corrosion.
- Test the Switch: Use a wrench to gently actuate the switch. If the brake lights do not respond, there may be a problem with the switch itself or a blown fuse.
- Clean the Switch: If dirt or grime is present, clean the switch contacts with a contact cleaner, taking care not to damage any components.
- Replacing the Switch: If cleaning doesn’t solve the issue, you may need to replace the switch. For the front brake, the switch might be inside the switch housing located at the lever. For the rear brake, it’s often part of the master cylinder and may require more in-depth service.
When to Seek Professional Help
If you’re unfamiliar with motorcycle repair or the brake light switch issue seems intricate, it may be time to seek professional help. Signs that service is beyond a simple DIY might include complex wiring issues, persistent circuit problems, or a safety hazard that you’re not equipped to handle. It’s crucial to recognize when a service requires the expertise of a certified mechanic.
Preventative Measures and Maintenance
Taking care of your Harley Davidson’s brake light switch can save you from potential hazards. Regular maintenance and timely interventions keep electrical faults at bay and ensure a safer ride. Here’s how you can stay ahead of brake light switch issues.
Regular Inspections
Every few months, inspect the brake light switch for any signs of damage or wear and tear. Check for:
- Loose or damaged wires
- Accumulated dirt or grime on the switch contacts
- Moisture which can lead to corrosion
Make sure your inspections also cover checking the proximity of the switch to the exhaust pipe to avoid heat damage.
Care and Replacement Timing
The longevity of your brake light switch depends on good practice and timely replacement. Care for your switch involves:
- Cleaning switch contacts with contact cleaner to eliminate dirt and ensure proper electrical flow.
- Being mindful of the heat from the exhaust pipe which can stress the switch.
- Replacing the switch as soon as any malfunction or consistent wear is detected to avoid failure during a ride.
Protecting Against Environmental Damage
Your Harley Davidson can face environmental assault in the form of heat, air, exhaust, and moisture. Take these steps:
- Install a heat shield if your switch is too close to the exhaust pipe to deflect excess heat.
- When washing your bike, avoid direct water streams on the switch and dry it thoroughly post-cleanup.
- Consider a switch cover to prevent dirt and moisture ingress, which can degrade the switch prematurely.
Understanding Related Systems
When tackling brake light switch problems on your Harley Davidson, it’s important to consider how interconnected vehicular systems can be affected. Two systems, in particular, are the cruise control and the vehicle’s alignment.
Impact on Cruise Control System
The cruise control system relies on the correct functioning of the brake light switch to engage and disengage properly. When your brake light switch malfunctions, it can lead to your cruise control failing or engaging erratically because the system thinks the brakes are being applied. This can interrupt the constant power supply needed for the cruise control to maintain a steady speed.
Effect of Brake Light Issue on Vehicle Alignment
Although a defective brake light switch directly does not affect your vehicle’s alignment, the consequences of neglecting the issue might. If the switch problem is symptomatic of broader electrical issues, like wiring faults, you might experience perturbations in your motorcycle’s power distribution. Variances in power can affect the electronic systems that control stability and, indirectly, could result in misalignment if left unchecked. Remember to maintain the health of all interconnected systems to ensure your Harley rides smoothly and safely.
Post-Repair Tips
After repairing or replacing your Harley Davidson’s brake light switch, it’s crucial to ensure everything works as intended. This involves testing the installation and observing its performance over time to prevent future malfunctions.
Testing After Successful Installation
Once you’ve installed the new brake light switch, thoroughly test it. Do this by having a friend or a mirror positioned to see the brake light as you engage both the front and rear brakes. Make sure the light illuminates promptly and turns off correctly when you release the brakes. If there is any delay or stickiness, you might need to check the alignment of the switch and tighten any loose connections.
- Check Promptness: Brake light illuminates without delay.
- Release Function: Brake light turns off immediately after releasing the brake.
Observation Period for Brake Light Switch
In the days following your service or installation, keep a close eye on your brake light’s functionality. It’s not uncommon for issues to surface after you’ve ridden your bike for a while. Watch out for any signs of malfunction such as the brake light staying on or not engaging when you apply the brakes. Regular checks during this observation period will help ensure that everything remains in correct alignment and functioning as it should.
- Daily Checks: Monitor your brake light’s functionality.
- Note Irregularities: Any malfunction after service should be addressed promptly.
Frequently Asked Questions
If you’re experiencing brake light switch issues on your Harley-Davidson motorcycle, you’re not alone. These are some of the most common questions riders have, which can guide you towards a solution.