
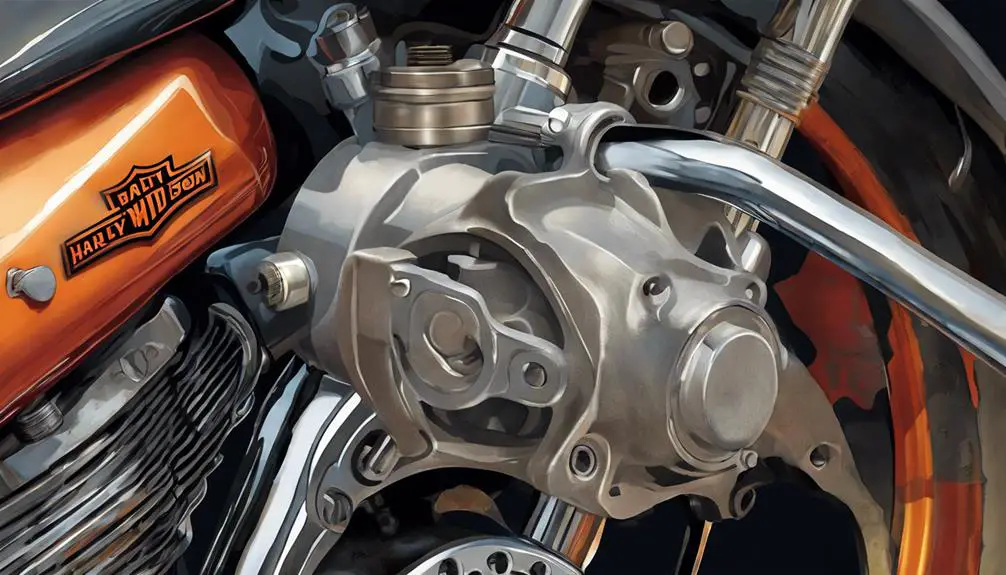
If you’ve noticed a slight decrease in brake performance, you’re not alone; Harley Davidson bikes are known to experience brake fluid leaks over time. Understanding how to address this issue can save you time and money, ensuring your safety on the road. By following a systematic approach to diagnose and repair these leaks, you can maintain your bike’s peak performance. Let’s explore the step-by-step process that will help you get back on the road with confidence and peace of mind.
Related read: Harley Davidson Oil Leaks: Quick Fixes for a Sealed Ride
Key Takeaways
- Inspect brake lines, connections, and calipers for leaks or damage.
- Identify the precise source of the brake fluid leak.
- Replace faulty seals or components to prevent further leaks.
- Bleed the brake system to remove air and old fluid.
- Test brakes in a safe area for proper function.
Inspect Brake Lines and Connections
You should begin by visually inspecting all brake lines and connections for any signs of leakage or damage. Take a good look at where the brake lines connect to the master cylinder, brake calipers, and junction blocks. Check for any wet spots, dripping fluids, or rust around these areas.
Remember, freedom on the road starts with a safe ride, and brake lines play an important role in your Harley Davidson’s performance.
As you inspect the brake lines, pay close attention to any cracks, abrasions, or bulges. These could indicate weak spots that may lead to leaks. Confirm all connections are tight and secure, without any signs of corrosion.
Your safety depends on the integrity of these components, so don’t overlook any potential issues.
Related: Round ‘Em Up: What Year Harleys To Avoid? (Full Overview)
Identify the Leak Source
To accurately pinpoint the source of the brake fluid leak on your Harley Davidson, start by examining the areas where the brake lines and connections meet for any visible signs of leakage or seepage. Look closely at the fittings, joints, and connections for any wet spots, drips, or residue that could indicate a leak.
Sometimes, leaks may be subtle, so make sure you check thoroughly. Additionally, inspect the brake calipers and master cylinder for any signs of fluid accumulation or dampness. These components are common areas for leaks to occur.
Remember, identifying the leak source is essential to effectively fixing the issue and preventing further damage to your motorcycle’s braking system. Take your time during this step, as being meticulous in your examination will save you time and effort in the long run.
Once you have located the source of the leak, you can proceed to the next step of replacing any faulty seals or components to restore your Harley Davidson’s brake system to peak performance.
Replace Faulty Seals or Components
Inspect the seals and components for any signs of damage or wear that could be causing the brake fluid leak in your Harley Davidson. Look closely at the brake calipers, master cylinder, brake lines, and any other parts of the braking system that could be potential sources of the leak. If you notice any cracks, tears, or worn-out areas on the seals or components, it’s important to replace them promptly to stop the leak.
Begin by gathering the necessary replacement seals or components for your Harley Davidson model. Make sure you have the correct parts to avoid any delays in the repair process. Using the appropriate tools, carefully remove the damaged seals or components. Take care not to cause any additional harm to surrounding parts.
Once the faulty seals or components are removed, install the new ones securely in place. Double-check that everything is properly fitted and tightened. This step is essential in preventing future leaks and ensuring your brake system functions effectively.
After replacing the seals or components, proceed to the next step in the brake fluid leak repair process.
Read next: Most Reliable Harley Davidson Models: Your Reliability Guide
Bleed the Brake System
After replacing the faulty seals or components in your Harley Davidson to address the brake fluid leak, the next step is to bleed the brake system. Bleeding the brake system is essential to guarantee top-notch brake performance.
To start, gather the necessary tools: a wrench, a clear tube, and fresh brake fluid. Begin by locating the brake bleeder valve on the caliper. Attach one end of the clear tube to the valve and the other end into a container to collect the old fluid. With the wrench, loosen the valve slightly.
Have a friend slowly press the brake lever to pump out the old fluid. Remember to top up the brake fluid reservoir as needed to prevent air from entering the system. Once the fluid runs clear without air bubbles, tighten the valve and wipe down any spills.
Congratulations, you have successfully bled your Harley Davidson’s brake system, ensuring a safer and smoother ride.
Test Brakes for Proper Function
Verify that your Harley Davidson’s brakes are functioning properly by conducting a thorough test.
Start by taking your bike to a safe, open area free of obstacles. Accelerate to a moderate speed and gently apply both the front and rear brakes. Listen for any unusual noises and feel for any vibrations or inconsistencies in the braking power.
Make sure that the bike comes to a smooth and controlled stop without pulling to one side.
Next, perform a series of quick stops from different speeds to assess the responsiveness of the brakes. Pay attention to how quickly the bike halts and whether it does so evenly without skidding or locking up.
If you notice any issues during the test, such as sponginess in the brake lever or pedal, a lack of response, or uneven braking, it’s important to address these problems before riding again.
Proper brake function is essential for your safety on the road, so never overlook any signs of brake trouble.
– Latest Reads
- 5 Best Motorcycle Locks To Keep Your Ride SecureMotorcycle theft happens fast and if you think it won’t happen to you, that’s exactly what thieves are counting on. Whether you park on the street, at work, or even in your own driveway, the right lock can be the difference between riding home and filing a police report. In this guide, we break down… Read more: 5 Best Motorcycle Locks To Keep Your Ride Secure
- Harley Code P1510: The Best Explanation Of Causes And FixesWhen it comes to Harley Davidson motorcycles, there’s a lot to understand regarding error codes. This article offers an in-depth look at Harley Code P1510. This code is common among Harley Davidson motorcycles, especially those with handlebar alterations. We’ll talk about when you should be concerned, what you should know, and what you can do… Read more: Harley Code P1510: The Best Explanation Of Causes And Fixes
- Harley Davidson Code C0077 – The Causes And How To FixHarley Davidson diagnostic code C0077 indicates a low tire pressure condition. Such a condition can lead to decreased fuel efficiency and increased tire wear. Neglecting this issue can also lead to safety hazards, such as tire blowouts and loss of control while riding. Read to understand what causes the code, how to fix it, and… Read more: Harley Davidson Code C0077 – The Causes And How To Fix
- The Complete Overview Of Harley Davidson Code P1632Harley Code P1632 is a common trouble code encountered by Harley Davidson riders and mechanics. The code refers to the “Odometer Learned Up” error, an issue related to the vehicle’s speedometer and odometer systems. So what does this mean for you, and should you be concerned? Well maybe, but what can you do about it?… Read more: The Complete Overview Of Harley Davidson Code P1632
- Harley Davidson Diagnostic Codes: The Most Complete GuideHarley Davidson motorcycles, with their robust engines and iconic design, represent the perfect blend of power and style. But even these legendary bikes can run into technical issues. Recognizing and resolving these challenges is key to maintaining their performance and longevity. One effective method for identifying problems is by scanning your bike for Harley Davidson… Read more: Harley Davidson Diagnostic Codes: The Most Complete Guide
- Harley Davidson Fat Boy Oil Capacity: The Ultimate GuideIf you’re a Harley Davidson Fat Boy owner, you should know that understanding the oil capacity of your bike is important for its best performance. It is actually one of the most important aspects of maintaining a Harley Davidson Fat Boy. Whether you ride daily or only on weekends, knowing the correct engine oil capacity… Read more: Harley Davidson Fat Boy Oil Capacity: The Ultimate Guide
- Harley Davidson Starter Relay Problems: The Ultimate GuideEncounter a delay when expecting the thundering rumble of your Harley Davidson? You’re not alone. A myriad of riders face the occasional hiccup with motorcycle starter issues, casting a shadow on the joy of the ride. In this critical guide, we plunge into the technical depths of Harley Davidson starter relay problems – dissecting symptoms,… Read more: Harley Davidson Starter Relay Problems: The Ultimate Guide
Conclusion
You’ve successfully fixed those pesky Harley Davidson brake fluid leaks and guaranteed your ride is safe and smooth. Who knew a little detective work and some elbow grease could make all the difference?
Now you can hit the open road with confidence and show off your handy skills to your fellow riders. Keep on fixing and riding!